This post contains affiliate links to help support our blog.
We had a big hail storm (think softball size hail) where I live about a year ago and it ruined most of the stuff we had in the backyard! My garden, patio furniture and trampoline were all ruined. The hail was so big and fast that it broke the glass out on my wicker patio coffee table. It has just been sitting around collecting dust for the last year because I am too cheap to throw it out. I knew I wanted to do something with it so I decided to rehab it myself DIY style and make a new table top! So, if you have an old table lying around that has no top and needs a new top or you just want to do a table makeover, please join us for some fun with this Easy DIY Patio Table Top Tutorial.
Easy DIY Table Top

This Tutorial can be applied to any kind of table you have, not just a patio table. Think coffee table, end table, desk etc.
Here is what you will need to make your easy table top:
Paint (color of your choice)
Hammer/Drill if you like/Screwdriver/Sanding Block or Power Sander
Knobs of your choice (Had laying around the house)
Pressure-treated Plywood- $12
Cedar Planks (optional)- $6
Steps:
- Measure the size you will need for the table top. If you take the actual sizes you need to your local hardware store (I went to Home Depot) they will cut it for you. Easy as pie and perfect cuts too. I used pressure treated wood since my table will be outside on the patio and needs to withstand weather conditions. You can get the wood there as well you would like to use. Plywood is the cheaper option.
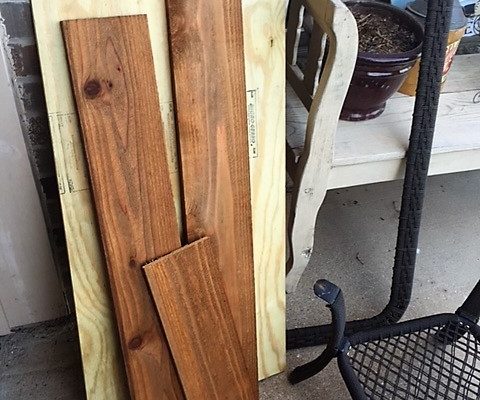
- I put Cedar Planks on top of the table just for decoration as well. If you want have the local hardware store cut these for you too. They are the planks used for fencing or you can use whatever kind you like.
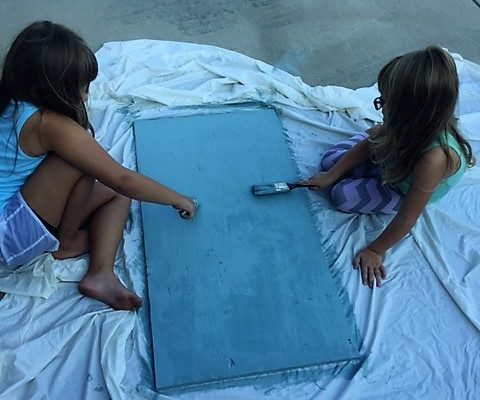
- Sand the top (Optional.) Paint the top of the table. I painted the front, back and sides of the plywood with Annie Sloan Chalk Paint (Duck Egg.) I wanted it to have a rustic country look. Plus it dries super quick. Like think 15 minutes. If you want to put the Annie Sloan Wax on to protect it, you can but I did not because I don’t care if it fades because like I said I wanted a more weathered look on it.
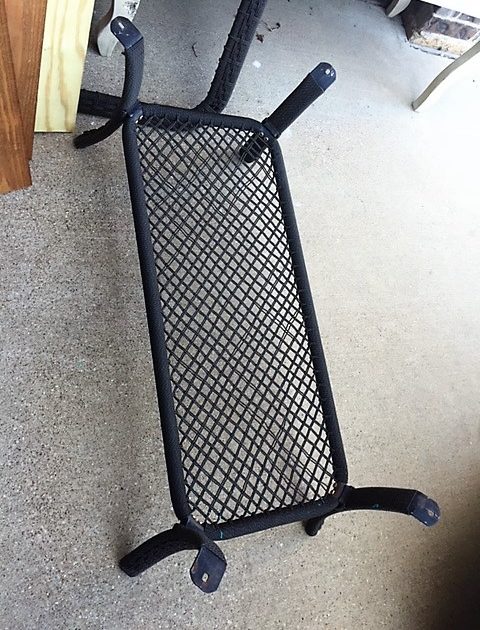
- When your table top dries, you can now attach it to your base. My base already had holes in the top of the legs where it connects to the underside of the base so the next part was easy for me. If your base does not, this is where your drill/screwdriver comes in to play. You will have to find a way to connect your table top to the base and make it secure. Next I picked 4 decorative knobs for the corners from Hobby Lobby that I liked and screwed them in. I used a drill to make holes through the cedar planks and the plywood so I could just stick my knobs in. Wow, done! Top connected to base!

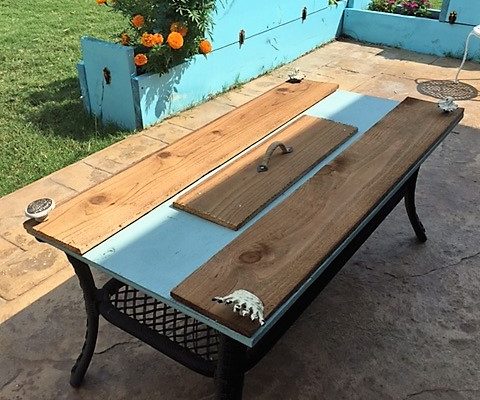
- I did use 4 little tack nails and nail the middle small piece of cedar plank to the plywood and nailed the decorative handle to that plank that you see in the middle of the table. The table was too plain for me at this point so I wanted to do a bit more to decorate it so I used another color of Annie Sloan Chalk Paint, Old White and did a few brush strokes all over the top lightly. Next I took the sanding block and sanded the whole top and sides of the table! Awesome! The colors all blended and gave me that weathered look that I had been going for!
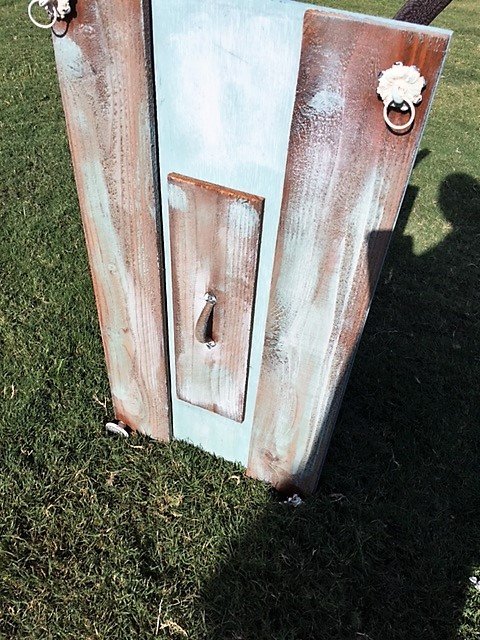
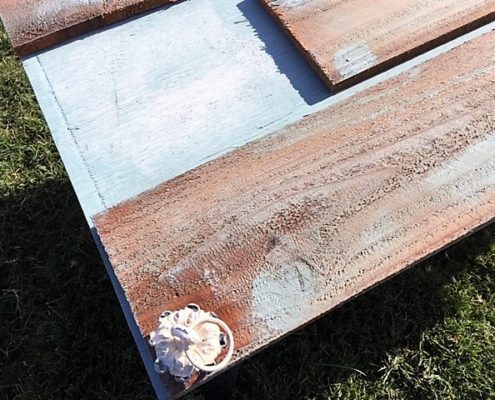
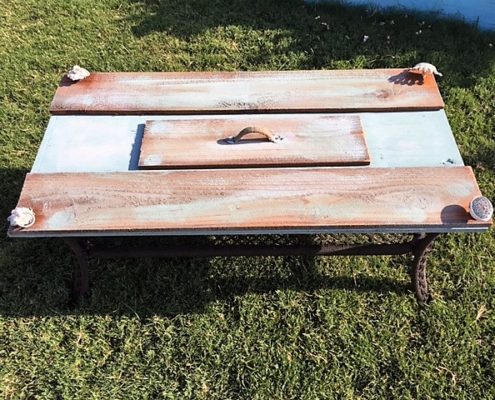
Easy, took me less than an hour and some of that time was going to Home Depot to get the supplies! I had my little helpers which sped things up a bit (or did it lol) so this is a quick little project you can do that has big results to spruce up a once dead furniture piece.
What do you think of my Easy DIY Patio Table Top? It works great for us in the space outside and the price was right! Next time there is a storm, I will make sure to move this piece under the porch cover! Everything from the storm was replaced and we found that life goes on quick! Thanks to WikiBuy for hooking us up with a new Trampoline Mat since ours was a GONER!
Have fun and happy DIY’ing!
For more great DIY tips, check out the DIY Network! I love them for their how-to’s!

Elizabeth Hurt
Elizabeth is the mom behind Mom Always Knows, a space inspired by generations of strong women who always seemed to know just what to do.
She is a wife, mother, believer, and Dallas-based blogger who loves sharing practical, relatable, and encouraging content for moms and families. Her faith, family, and everyday life continue to inspire the heart behind Mom Always Knows.
As a mom raising two daughters, Elizabeth knows motherhood is full of joy, questions, challenges, and constant learning. Through Mom Always Knows, she shares helpful ideas, honest encouragement, and real-life resources for women navigating family life, motherhood, home, faith, and everything in between.
This is such a great idea! I love the way it turned out! Beautiful job 🙂
What a unique piece! Also, love seeing the kiddos help. 😉
Now this is easy… actually something I could do!!1 I love seeing new and easy projects as it inspires me to get crafty!!!
I love how this turned out and how you got the kiddos involved too.
Wow your patio table turned out fantastic! So rustic looking! Love it!
Such a great tutorial!! That table is amazing!
What a cute idea. Now you have a one of a kind table!